Self-adhesive false eyelashes are a convenient alternative to traditional glue-on lashes. Here is a step-by-step guide on how to apply them:
")
Prepare your eyes
- Clean the eye area: Use a gentle cleanser to remove any makeup, oil, or dirt from your eyelids and lashes. This ensures a clean surface for the false eyelashes to adhere to.
- Curl your natural lashes: Use an eyelash curler to curl your natural lashes before applying the self-adhesive false eyelashes. This will help them blend better with the false lashes and make your eyes look more open.
Select and prepare the false eyelashes
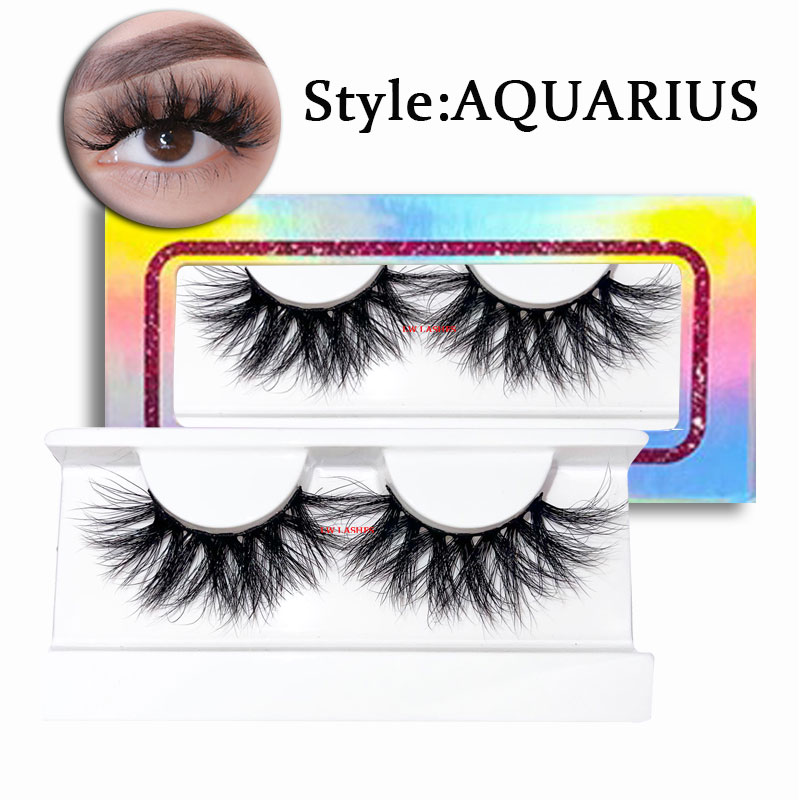
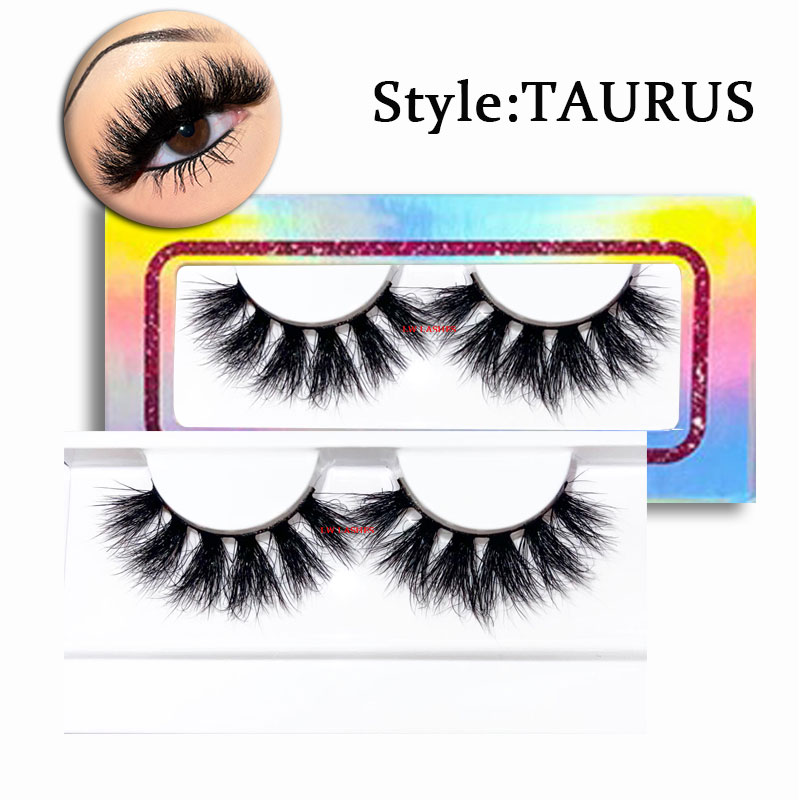
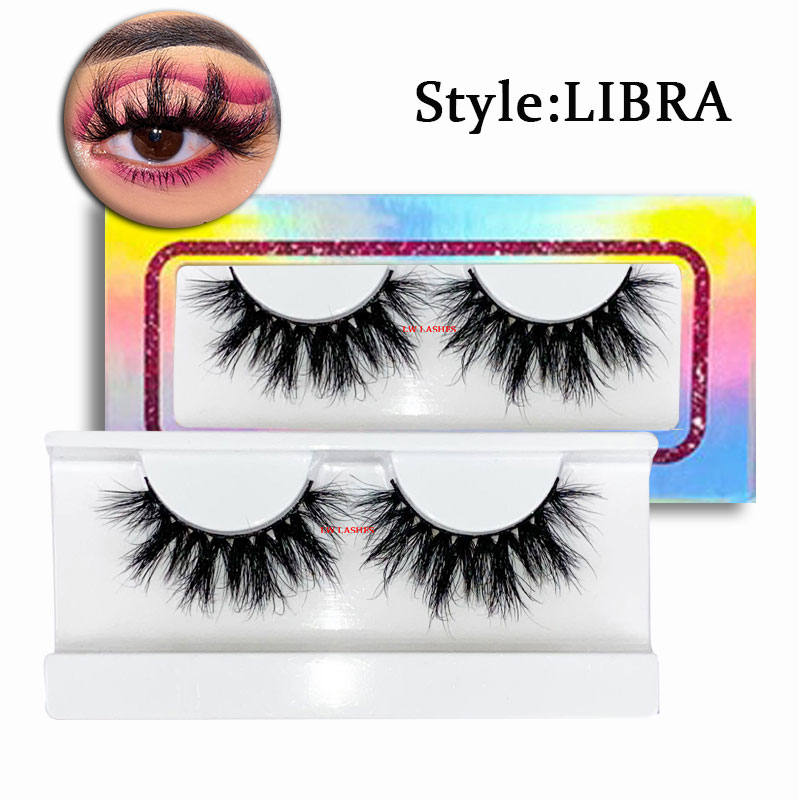
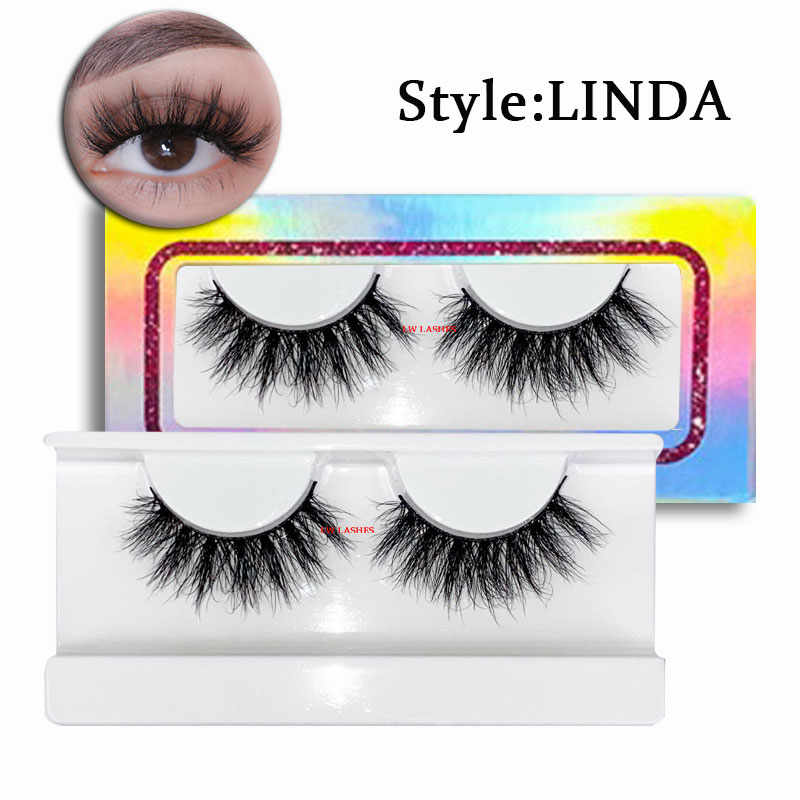
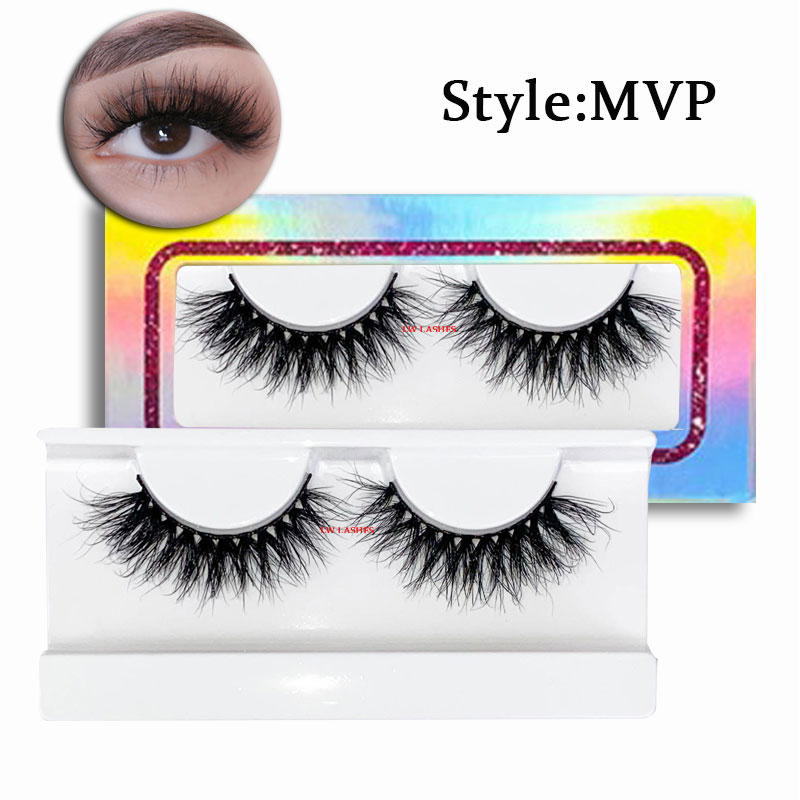
- Choose the right lashes: Select self-adhesive false eyelashes that suit your eye shape and the look you want to achieve. Consider factors like length, thickness, and style.
- Inspect and trim if necessary: Examine the false eyelashes for any imperfections or excess length. If the lashes are too long, carefully trim them to fit the width of your eye using small scissors.
Peel off the backing
- Handle with care: Hold the self-adhesive false eyelashes by the outer edge using tweezers or your fingertips. Gently peel off the backing paper or film that covers the adhesive strip on the lash band. Be careful not to touch the adhesive with your fingers to avoid getting it dirty or losing its stickiness.
Position the lashes
- Start from the middle: Using tweezers, place the middle of the false eyelash band as close as possible to your natural lash line. Press it gently onto the skin.
- Align with the inner corner: Slowly move the lash towards the inner corner of your eye, making sure it follows the natural curve of your eyelid and is positioned correctly. Press it firmly into place.
- Adjust the outer corner: Next, adjust the outer corner of the false eyelashes. Make sure it extends slightly beyond the outer edge of your natural lashes for a natural look, but not too much to avoid looking unnatural. Press this part down firmly as well.
Press and secure
- Use a lash applicator or fingertip: Once the false eyelashes are in the correct position, use a lash applicator tool or the tip of your finger to press along the lash band again. This helps to ensure a strong and even adhesion.
- Check for gaps: Look for any gaps or areas where the lash may not be sticking properly. If there are any, gently press down on those spots to make sure the lash is securely attached.
Blend and finish
- Comb the lashes: Use a clean lash comb or spoolie to gently comb through your natural lashes and the false lashes. This helps to blend them together and make the false lashes look more natural.
- Apply mascara (optional): If you want to enhance the look further, you can apply a coat of mascara to your natural lashes and the false lashes. This will help them blend even more seamlessly and add extra volume and definition.